
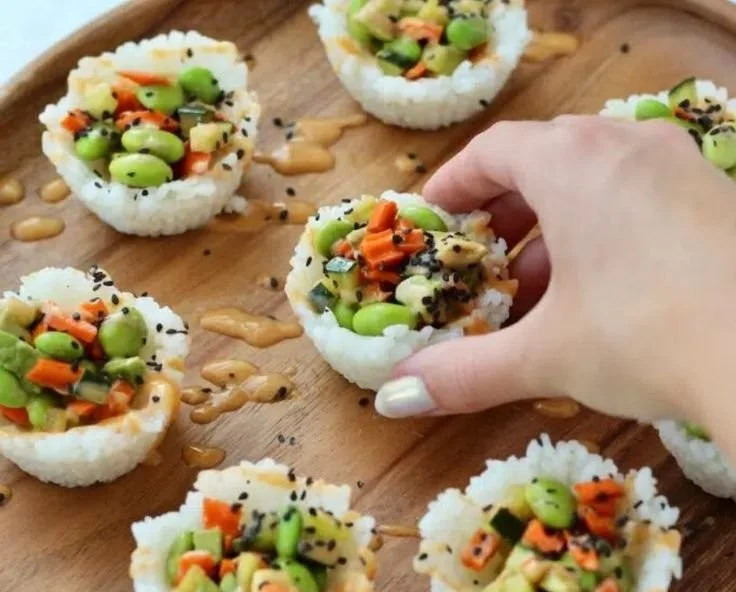
Sushi Cups are a delightful fusion of flavors and textures, offering a fun and easy way to enjoy sushi in a portable form. Perfect for gatherings or a light lunch, these little cups showcase flavorful veggies and creamy spicy mayo atop a base of compacted sushi rice. Whether you’re a sushi fan or simply looking for a unique dish, these Sushi Cups are sure to impress.
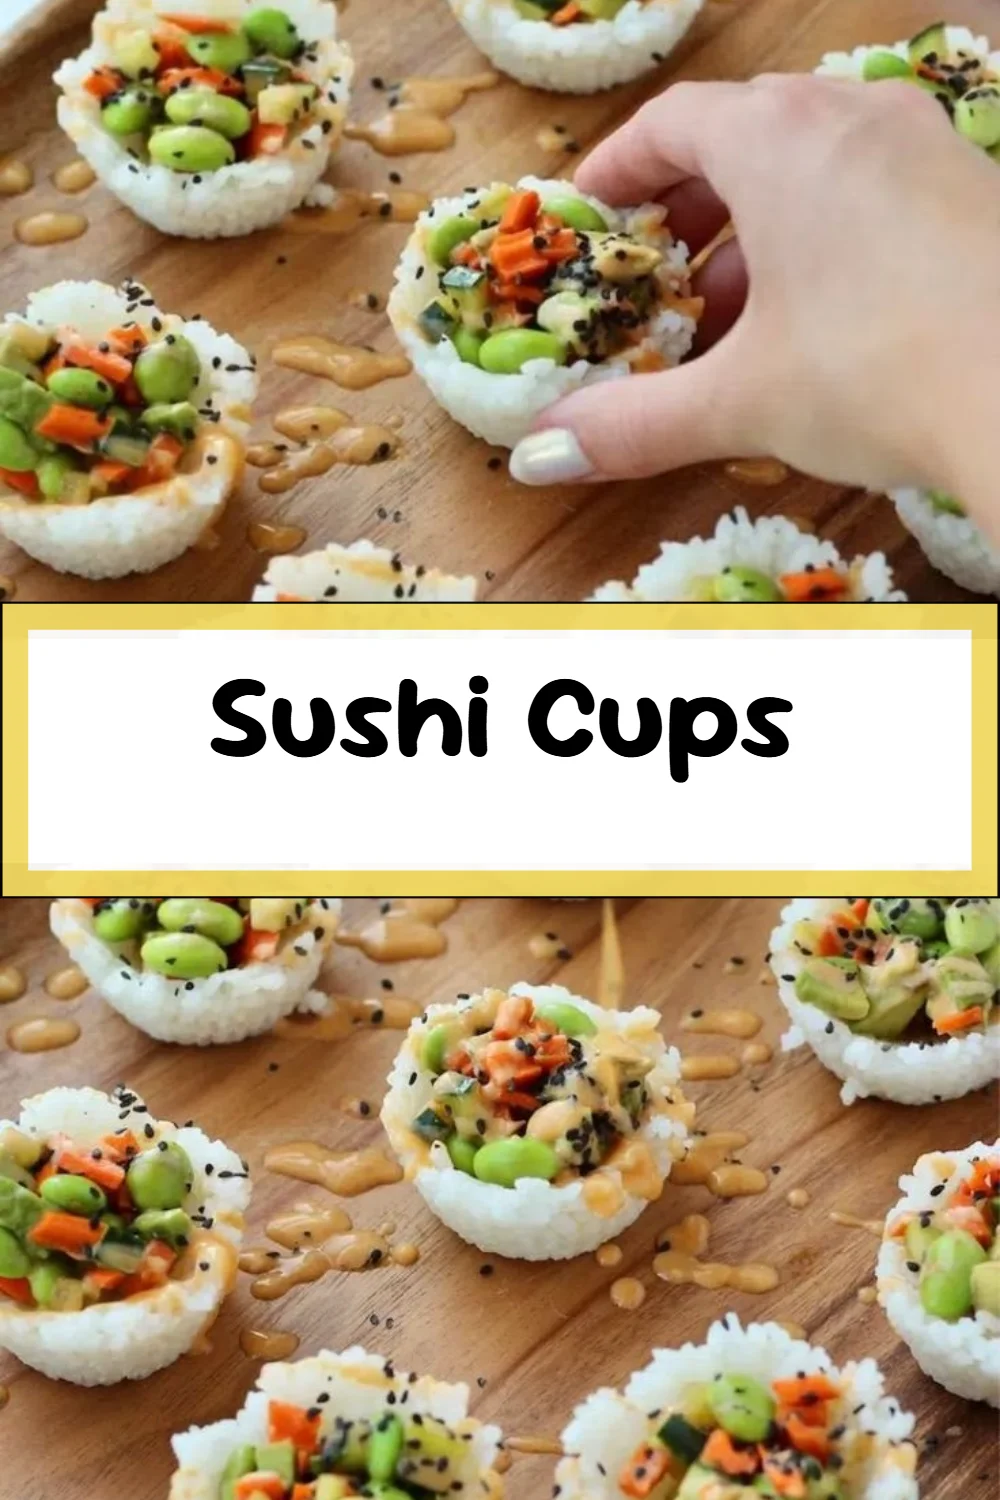
Why You’ll Love Sushi Cups
- Quick and Easy: These Sushi Cups can be prepared in just under an hour, making them a great option for busy weeknights.
- Customizable: With the ability to choose your favorite vegetables and protein, each cup can be tailored to suit your taste or dietary preferences.
- Perfect for Meal Prep: Make a batch ahead of time and store them for quick lunches or snacks throughout the week.
- Family-Friendly: Kids will love the fun presentation and the chance to assemble their sushi cups with their favorite fillings.
- Serve Chilled or at Room Temperature: These cups are versatile, offering delicious flavors whether served straight from the fridge or allowed to come to room temperature.
Recipe Overview
- Prep Time: 30 minutes
- Cook Time: 20 minutes
- Total Time: 50 minutes
- Servings: 4
- Difficulty Level: Easy
Ingredients You’ll Need for Sushi Cups
-
Rice Base:
- 1 cup sushi rice, rinsed
- 1 1/2 cups water
-
Filling:
- 1/2 cup finely chopped veggies of your choice (e.g., cucumber, bell peppers, carrots)
- 1/4 cup steamed mukimame (shelled edamame)
- 1/4 cup diced avocado (approximately 1/2 small avocado)
-
Spicy Mayo:
- 1/4 cup mayonnaise
- 1 teaspoon Sriracha sauce (adjust to taste)
- 1 teaspoon coconut aminos or soy sauce
- 1 teaspoon honey
- 1/2 teaspoon sesame oil
-
Garnish:
- Black sesame seeds (for garnish)
Use fresh vegetables for added crunch and vibrant color. You can substitute the sushi rice with brown rice for a healthier option if desired.
How to Make Sushi Cups
-
Cook the Sushi Rice: In a medium pot, combine the rinsed sushi rice and water. Bring to a boil over high heat. Once boiling, reduce heat to low, cover, and simmer for about 20 minutes or until the rice is cooked and the water is absorbed. Remove from heat and let it cool slightly.
-
Shape the Rice Cups: Press about 2 heaping tablespoons of the cooled rice into each cup of a muffin tin. Use the back of a spoon to compact the rice well. Place the muffin tin in the refrigerator to chill for 20 minutes, allowing the rice to set.
-
Prepare the Filling: In a mixing bowl, combine the chopped veggies, steamed edamame, and diced avocado. Add in the coconut aminos or soy sauce, mixing well to combine all the flavors.
-
Make the Spicy Mayo: In another bowl, whisk together the mayonnaise, Sriracha sauce, coconut aminos or soy sauce, honey, and sesame oil. Adjust the level of Sriracha to your preferred spiciness.
-
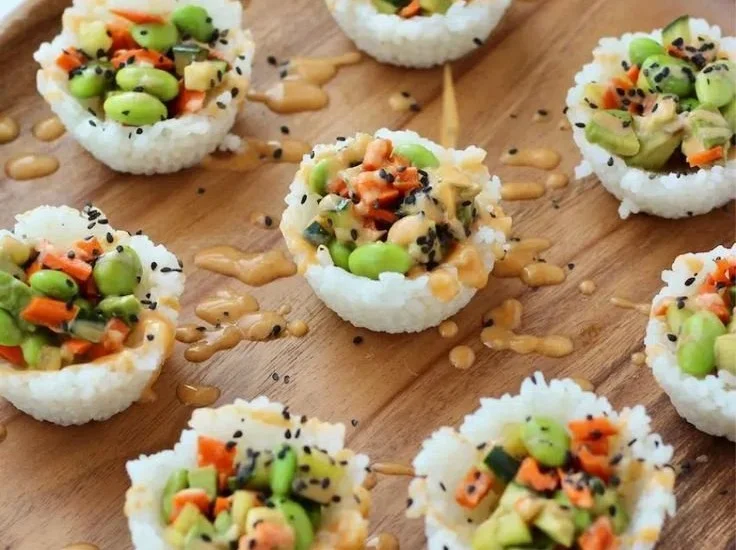
Assemble the Cups: Remove the rice cups from the fridge. Spoon a heaping tablespoon of the veggie filling over each rice cup. Drizzle the spicy mayo generously on top and garnish with black sesame seeds.
Tips for Success
- Rinsing Rice: Always rinse the sushi rice until the water runs clear to remove excess starch, which prevents it from becoming gummy.
- Pressing Rice: Make sure to press the rice firmly into the muffin tin to ensure it holds its shape when unmolding.
- Cooling Rice: Allow the rice to cool slightly before shaping to avoid burns and to make it easier to work with.
- Substituting Veggies: Experiment with seasonal vegetables or those you have on hand. Just ensure they are chopped small enough to fit well in the cups.
- Adjusting Spiciness: Start with a small amount of Sriracha in the mayo and mix it in gradually until you achieve your desired heat level.
Easy Variations
- Protein Add-ins: Add cooked shrimp, crab, or even diced tofu into the veggie filling for an extra protein boost.
- Different Sauces: Try adding a drizzle of teriyaki sauce instead of spicy mayo for a different flavor profile.
- Vegan Option: Substitute the mayonnaise with vegan mayo or a nut-based cream for a plant-based version.
- Seaweed Flavor: Add a sprinkle of nori strips for authentic sushi flavor.
- Rice Alternatives: Use quinoa or cauliflower rice for a low-carb option while still maintaining the delicious structure.
What to Serve with Sushi Cups
- Soy Sauce or Tamari: Serve alongside for dipping if desired, enhancing the umami flavor.
- Pickled Ginger: A zesty contrast that brightens the dish and acts as a palate cleanser.
- Wasabi: For those who enjoy an extra kick, a small amount pairs nicely.
- Salad Greens: A light side salad with sesame dressing complements the sushi cups perfectly.
- Edamame: Steamed and salted edamame adds an authentic touch and makes for a great, protein-rich side.
Storage and Reheating
- Refrigerator Storage: Store any leftover Sushi Cups in an airtight container in the fridge for up to 2 days.
- Freezer Storage: While best enjoyed fresh, you can freeze the rice cups (without filling) for up to a month. Add the filling and mayo fresh before serving.
- Reheating: If packed for lunch, these can be enjoyed cold or let them sit at room temperature for about 15 minutes before serving.
- Texture Preservation: To maintain the rice’s texture, avoid reheating with moisture, as it can become overly soft.
Common Mistakes to Avoid
- Overcooking the Rice: Keep an eye on the rice while cooking; overcooking can lead to mushy sushi rice.
- Not Compacting Enough: Not pressing the rice firmly enough can cause the cups to fall apart when you try to serve them.
- Using Overripe Avocados: Ensure your avocados are ripe but not overly soft to maintain a pleasant texture in the filling.
- Skipping the Cooling Step: Allowing the rice to cool before shaping is critical for the rice to hold together well.
- Adding Too Much Liquid: Be mindful of the moisture in your veggie filling to prevent soggy cups.
Sushi Cups: Background & Cultural Inspiration
Sushi Cups reflect a modern twist on traditional Japanese sushi, where the concept of sushi as a handheld meal has been embraced worldwide. They provide a fun way to enjoy sushi’s fresh ingredients without needing to roll them. Additionally, sushi culture emphasizes balance, flavor, and seasonability, all of which are preserved in these mini delights. This dish caters to a variety of tastes and dietary preferences, making it a perfect centerpiece for social gatherings or casual meals alike.
Frequently Asked Questions
Can I make Sushi Cups in advance?
Yes, you can prepare the rice cups a day ahead and fill them with the veggies and mayo right before serving for the freshest taste.
What can I use instead of sushi rice?
You can substitute sushi rice with short-grain brown rice, quinoa, or even cauliflower rice, although the texture may differ.
How spicy are these Sushi Cups?
The spiciness largely depends on how much Sriracha you use in the mayo. You can adjust this based on your flavor preference.
What vegetables can I use?
Feel free to incorporate any finely chopped vegetables you enjoy, such as zucchini, bell peppers, or even radishes to add crunch.
How do I store leftover Sushi Cups?
Keep them in an airtight container in the fridge for up to two days. For longer storage, freeze the rice cups without filling, then add fresh ingredients when ready to enjoy.
Final Thoughts
These Sushi Cups offer a fun and easy way to indulge in sushi flavors without the fuss of traditional rolling. They are versatile, making them suitable for casual lunch or elegant parties alike. With a delightful balance of textures and flavors, they are worth a try! Enjoy creating your own version of these mini sushi delights today!
PrintSushi Cups
Delightful fusion of flavors and textures, Sushi Cups are a fun and easy way to enjoy sushi in a portable form, perfect for gatherings or a light lunch.
- Prep Time: 30 minutes
- Cook Time: 20 minutes
- Total Time: 50 minutes
- Yield: 4 servings
- Category: Appetizer
- Method: Chilling
- Cuisine: Japanese
- Diet: Vegetarian
Ingredients
- 1 cup sushi rice, rinsed
- 1 1/2 cups water
- 1/2 cup finely chopped veggies of your choice (e.g., cucumber, bell peppers, carrots)
- 1/4 cup steamed mukimame (shelled edamame)
- 1/4 cup diced avocado (approximately 1/2 small avocado)
- 1/4 cup mayonnaise
- 1 teaspoon Sriracha sauce (adjust to taste)
- 1 teaspoon coconut aminos or soy sauce
- 1 teaspoon honey
- 1/2 teaspoon sesame oil
- Black sesame seeds (for garnish)
Instructions
- Cook the Sushi Rice: In a medium pot, combine the rinsed sushi rice and water. Bring to a boil over high heat. Once boiling, reduce heat to low, cover, and simmer for about 20 minutes or until the rice is cooked and the water is absorbed. Remove from heat and let it cool slightly.
- Shape the Rice Cups: Press about 2 heaping tablespoons of the cooled rice into each cup of a muffin tin. Use the back of a spoon to compact the rice well. Place the muffin tin in the refrigerator to chill for 20 minutes, allowing the rice to set.
- Prepare the Filling: In a mixing bowl, combine the chopped veggies, steamed edamame, and diced avocado. Add in the coconut aminos or soy sauce, mixing well to combine all the flavors.
- Make the Spicy Mayo: In another bowl, whisk together the mayonnaise, Sriracha sauce, coconut aminos or soy sauce, honey, and sesame oil. Adjust the level of Sriracha to your preferred spiciness.
- Assemble the Cups: Remove the rice cups from the fridge. Spoon a heaping tablespoon of the veggie filling over each rice cup. Drizzle the spicy mayo generously on top and garnish with black sesame seeds.
Notes
Use fresh vegetables for added crunch and vibrant color. You can substitute the sushi rice with brown rice for a healthier option if desired.